I had never tried any kind of quilting before but I had a vintage pattern that depicted what looked like a quilted robe and I thought it looked so beautiful. I could imagine it in a icy blue satin - which I conveniently had a bunch left over from a previous project, and a soft flannel lining. The pattern itself was too small (Size 2) and I was on a short time scale so I didn't want to have to re size it, but I had a bunch of other vintage night clothes patterns for children so I figured one of them would work. So off I went to my favourite fabric store Smart Dress Fabrics, which is located in Mt Albert.
I love this store so much as they always have a large variety of plain fabrics and the two owners are incredibly lovely and always have good advise. Unfortunately for me I was in denial about how big my daughter is getting (seriously how do they grow so fast?!) so without a definite pattern in mind I ended up purchasing 1.5m of a baby blue flannel and the same of a super thick batting. This caused problems later, but I will get to that. I also purchased some beautiful silver button and some white lace trim. I was also making pyjamas to go under the robe in a very cool blue and white star wars flannel, so I picked up some buttons for that too.

On the way home I actually stopped off at a op shop and happened to find the pattern I ended up using for the quilted robe - so that was a good find.
The pattern I used was Simplicity 5994 that was printed in 1974, and I went for the longer blue robe on the right.

I didn't get another chance to look at the project until the weekend, and it was then that I discovered I had a major problem. I didn't have enough fabric. I didn't have enough satin, or flannel, or ever the star wars fabric for the pyjamas. The batting would be enough in I divided the thickness in two by tearing it apart. To be honest that may have been for the best as it would've been too thick if I hadn't. But the fabric problem left me wanting to tear my hair out and I frantically looked through my other patterns to see if I had any others that could make it work, but all the patterns seemed to need the same amount of fabric and so I had to come up with a plan B.
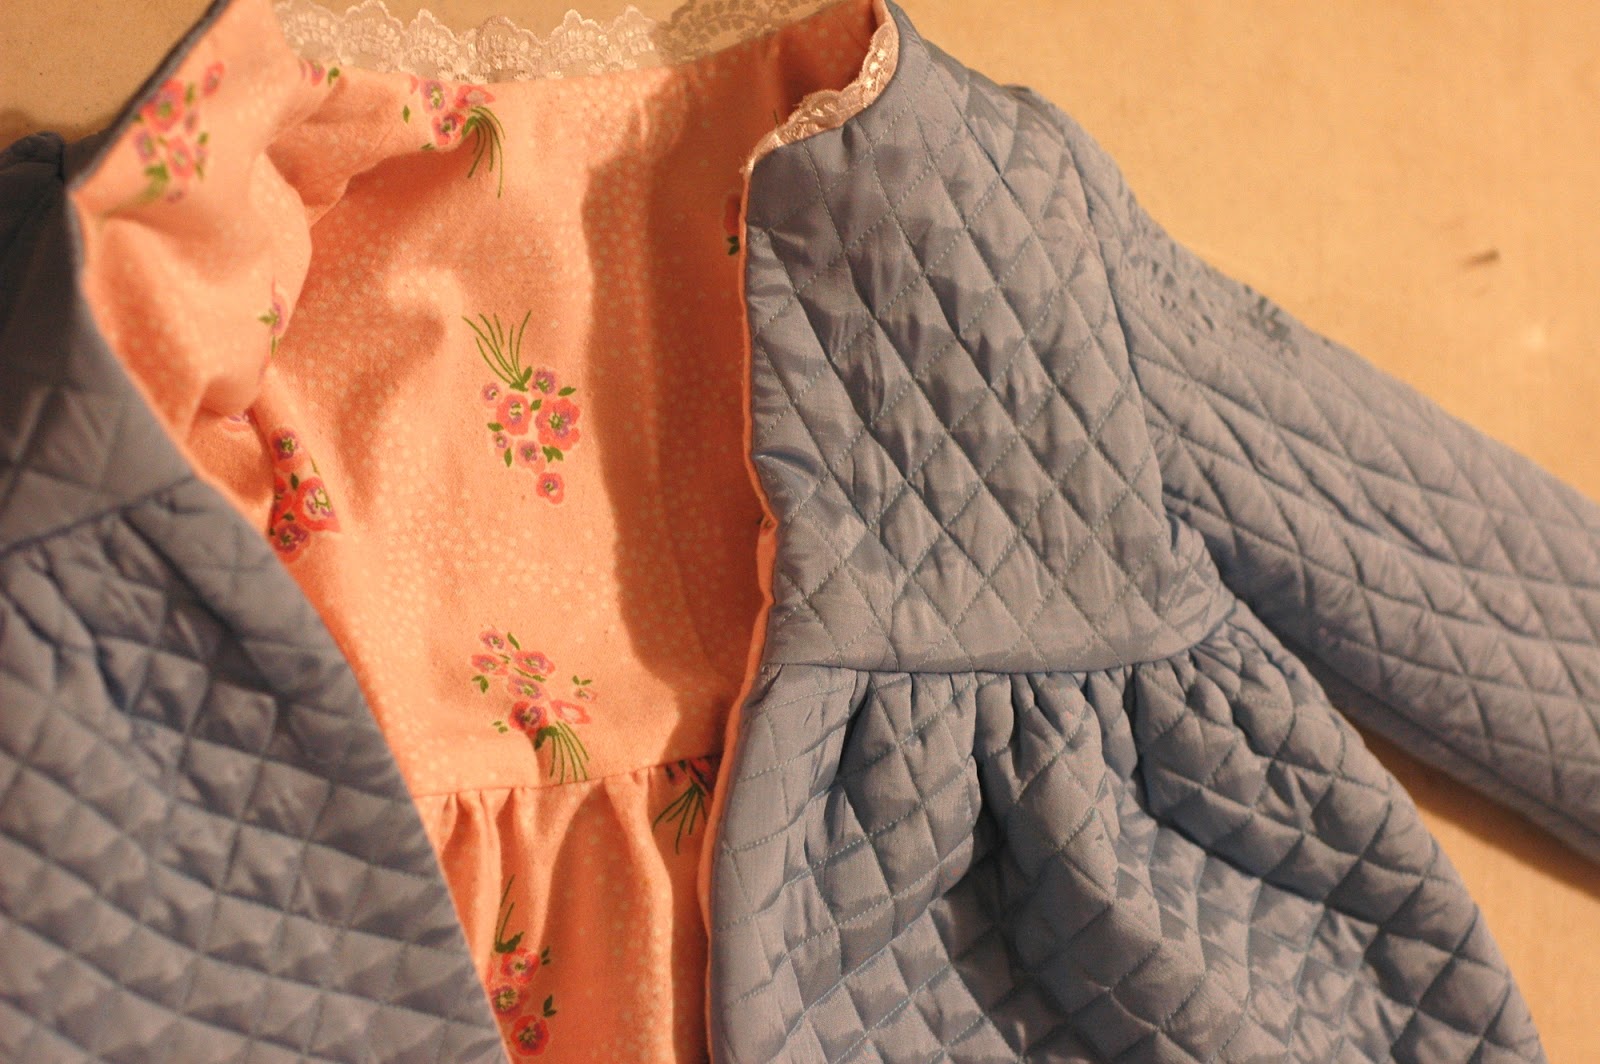
Still kicking myself a little I raided my fabric hoard (which even I will admit is incredibly amazing and I will blog about it at a later date), and I found a slightly different blue fabric that had a satin like weight and slight sheen to it. I think it may be a lightweight lining fabric of some sort that I'm pretty sure my mother or Nana gave me at one stage. I had a large amount of this and it would solve my issue with the satin. The darker blue is the fabric replacement for the satin.

I still had an issue with flannel lining, but ended up using the baby blue for the pyjama bottoms and wrist cuffs and I found I had a lot of a pretty pink floral flannel that my mother had left over from pyjamas she had made my sister and I when we were young, and to be honest I am actually happier with this that I think I would've been with the blue.
Now that my problem was solved it was time for cutting out.

And pining.

During the pinning process I discovered one of the front skirt panels had huge discolouration patches and I had to re cut another panel, luckily this time I had enough fabric.
Then it was time to start quilting - and I cannot stress enough how I have never done this before so if you are an experienced quilter I'm sure this is going to make you cringe, but I didn't read up on how to do it, I just guessed, and I free handed all the stitching too. The lines were not very straight or even and I was in a massive rush too so I was speeding through it without much care - something I wouldn't do next time. I think it's a process that if I was to do over, I would rather have a lot more time and perhaps some guidance.


It still took longer than I would've liked but the end result wasn't as bad as I expected, and I didn't really have time to fuss over it anyway.

It was the time to start assembling the robe. I completely ignored the pattern instructions and just assembled how I pleased, which works well for me. I attached the skirt to the top and then the front to the back.

I decided at this point it was time for a fitting. Getting a 3 year old to stand still is a near impossible task, something which I have not yet mastered.


After taking the side seams and the shoulder seams out slightly I gathered the top of the sleeves and the stitched them in (skipping the basting, I know, I'm rebel).

After this my photo taking got a lot slacker as I found myself working all night till 6.30am to get the robe and the pyjamas finished on time (typical Clara time people call it. I must get better at time management!), but I did managed to get a couple. I assembled the lining the same way and then stitched it in with a row of lace trim at the top collar.

Then turned the lining to the inside and ironed it down.

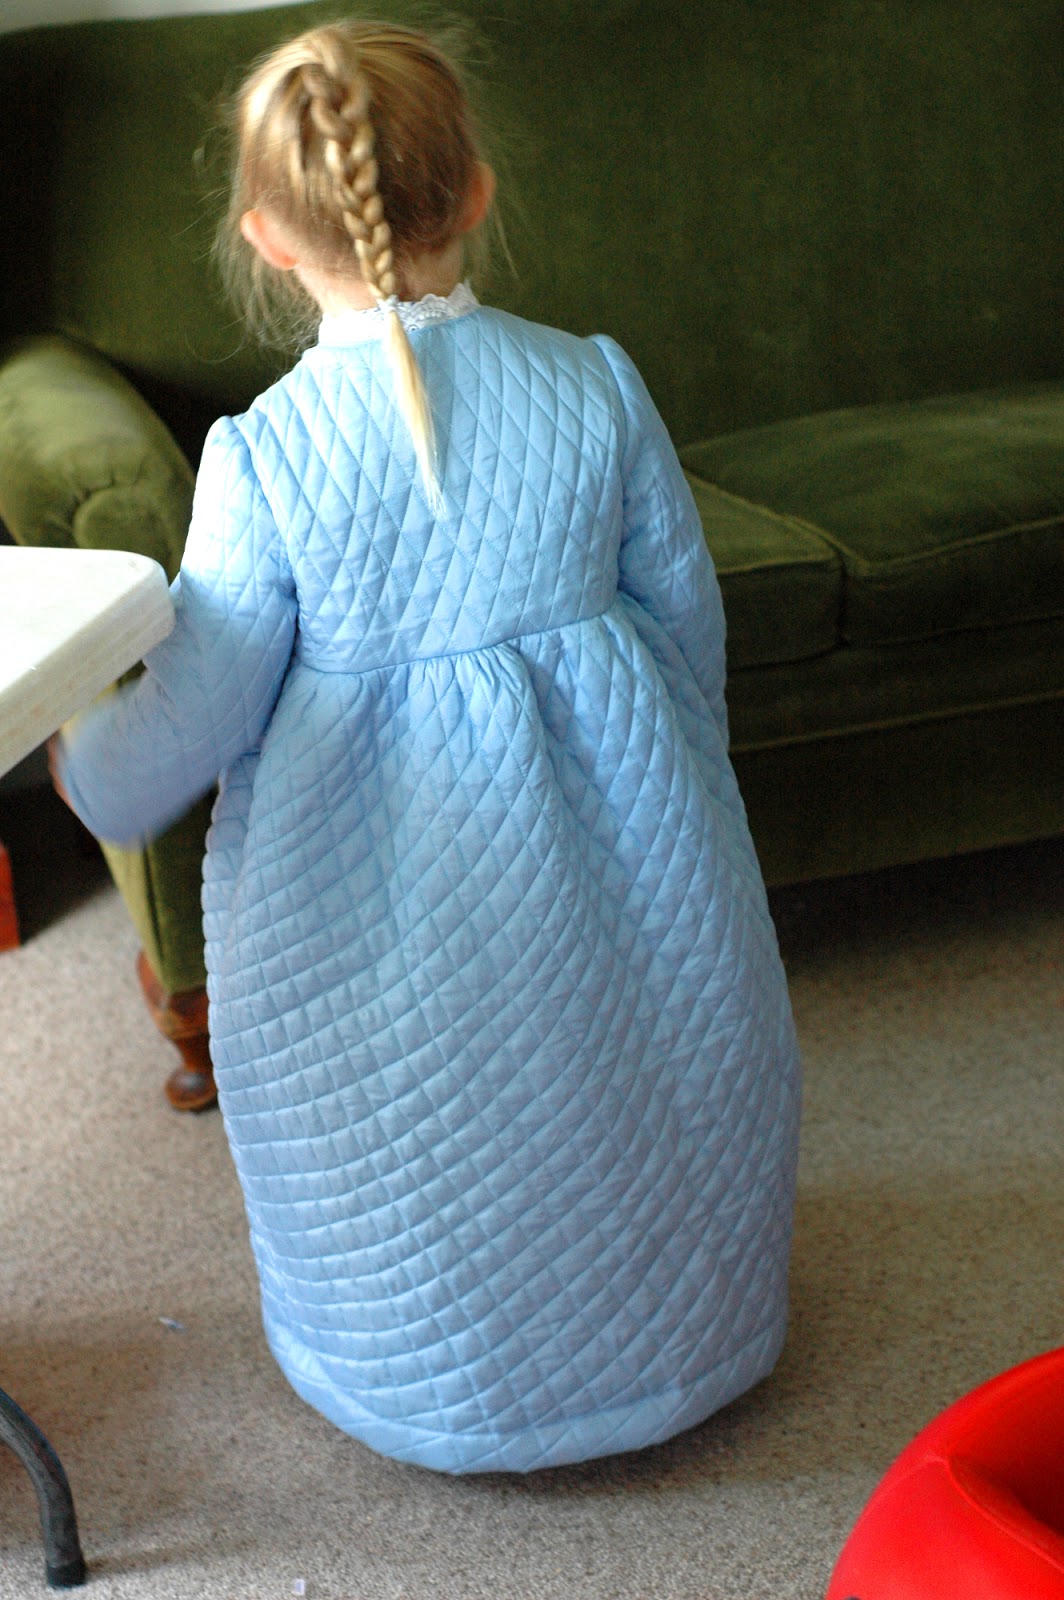
At this point I had stopped taking photos but I measured up and marked the buttonholes evenly, used my machine I sewed them in freehand as I do not have one of those fancy buttonhole feet, then hand stitched the bottom and sleeve hems, finally attaching the buttons. Here is the finished result!

I managed to get a few pictures of Ruby wearing it, although she once again had trouble staying still and we were running late for kindy. I would like to get some more photos of it but even though I stitched the buttons really tight Ruby managed to rip half of them off and she got dirt all over it so it will need a good clean and fix up before that happens.


Overall though I am actually incredibly proud of this project and I am really happy with the way it turned out, there are things I would do differently if i was to make it again but it was a huge learning experience and the most important thing was that my daughter loved it. When she saw it she gasped and said "Oh mummy it's sooooooo beautiful!" and after she put it on she told me she was Cinderella. It was very cute, and all her kindy teachers were super impressed!

Anyway, sorry for the super wordy post, might start breaking them up a little next time. Tell me what you think of the finished product or any advise you may have!
Lady De Vil xo


